Appearance
Salome Interface Overview
Once Salome is installed and launched, you’ll be greeted with a blank workspace — this is where all your geometry modeling, meshing, and pre-processing work will take place. The interface is designed to be modular, allowing you to switch between different functional areas depending on the task at hand.
Understanding the Main Interface
When Salome opens for the first time, you’ll see a blank gray screen with a toolbar at the top and a dropdown menu that lets you choose between different modules.
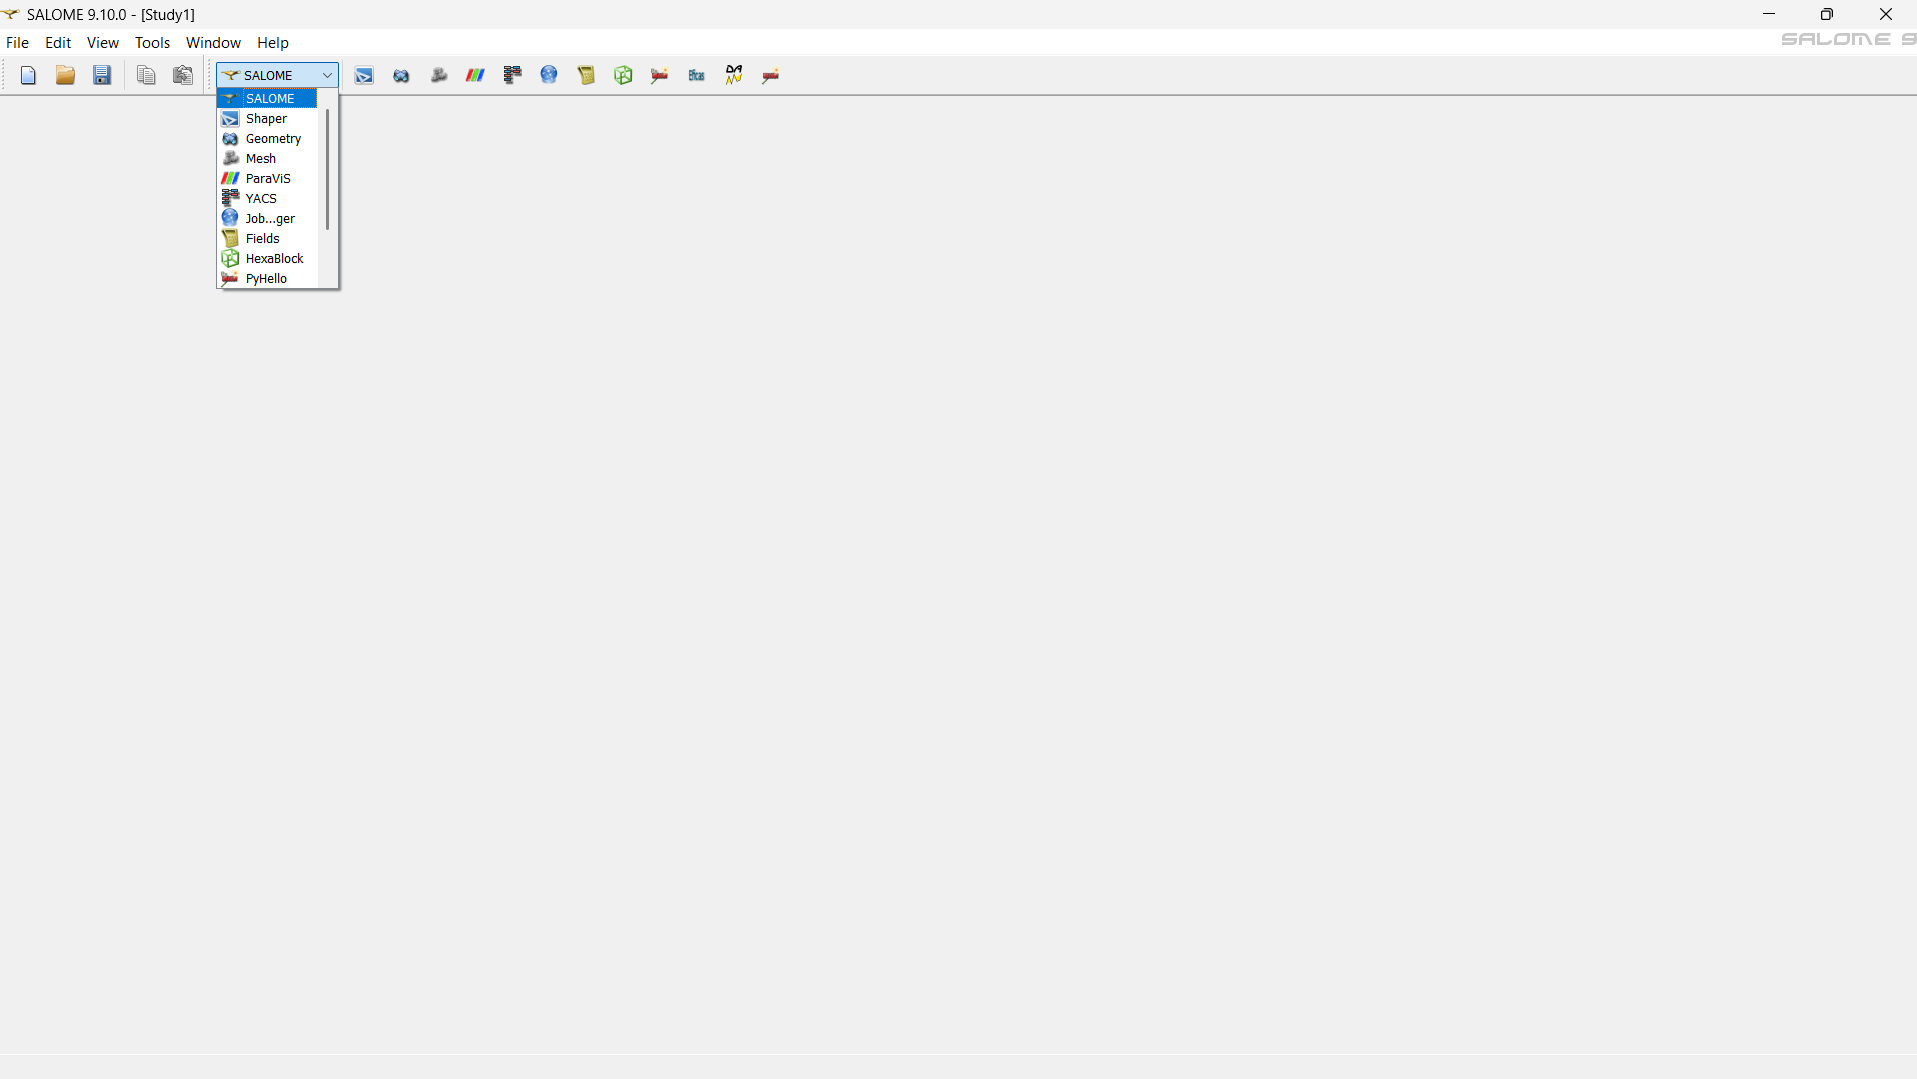
Some of the commonly used modules include:
- SHAPER – Used for creating and editing geometries (2D and 3D).
- GEOMETRY – A legacy module for modeling; SHAPER is now preferred for modern workflows.
- MESH – Used for generating finite element meshes from geometries.
- PARAVIS – Based on ParaView, for post-processing and visualization.
- YACS, JOB MANAGER, HEXABLOCK, FIELDS – Advanced modules used for specific simulation workflows.
In most geometry and pre-processing work, we’ll primarily use:
- SHAPER – to build the geometry, and
- MESH – to create and refine the mesh for simulation.
Exploring the SHAPER Module
Let’s switch to the SHAPER module to understand the working layout.
The SHAPER interface is clean, yet packed with tools that allow you to construct detailed and parametric geometries.
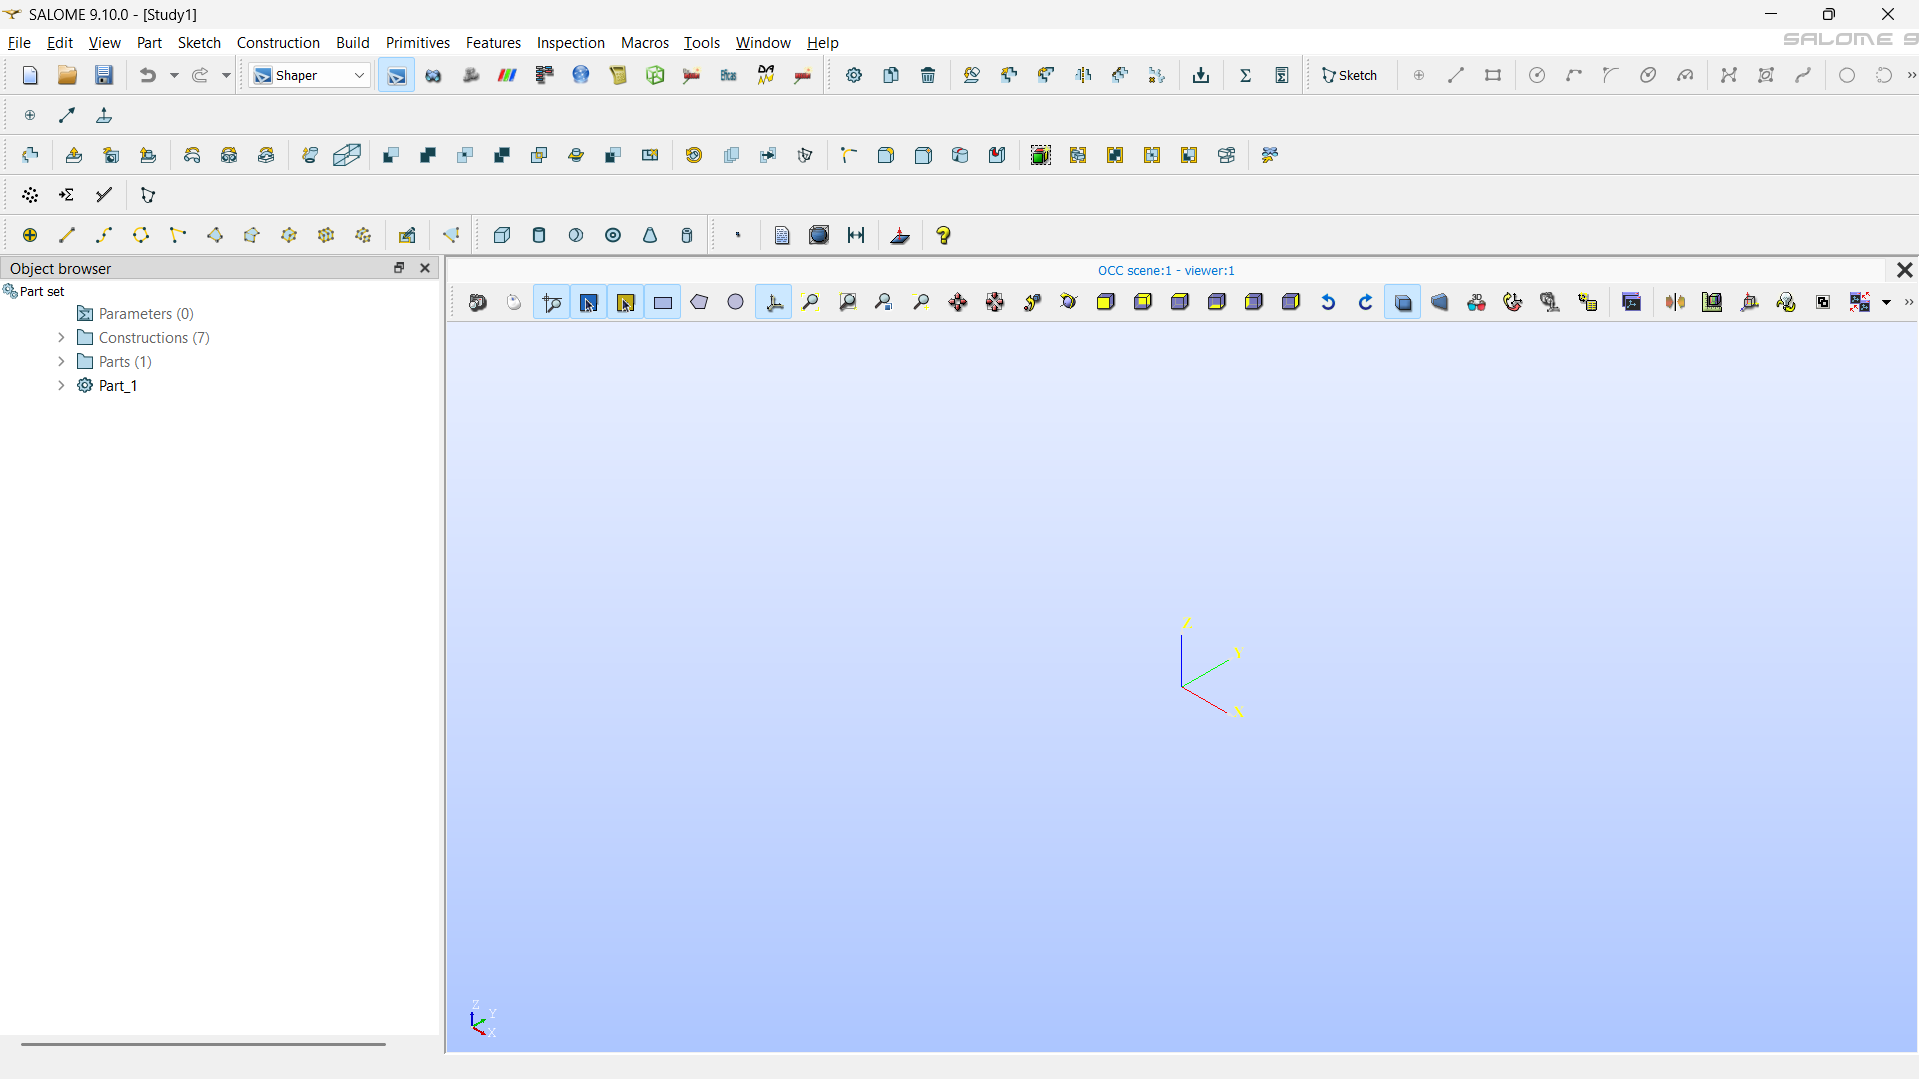
At the top of the interface, you’ll find several menu options:
- Construction – Tools for creating reference planes, axes, and coordinate systems.
- Build – Basic geometry creation tools such as points, lines, sketches, and faces.
- Primitives – Ready-made 3D shapes such as boxes, cylinders, cones, and spheres.
- Features – Boolean operations like cut, fuse, and intersect; fillets, chamfers, and transformations.
- Inspection – Used for checking geometry validity or measuring distances, angles, and sizes.
- Macros – Predefined scripts or sequences that automate repetitive modeling tasks.
- Tools – General utilities for visualization, property control, and workspace customization.
Below the menu bar, you’ll see toolbar icons that mirror these same options for quicker access. These are arranged for convenient modeling — you can sketch, extrude, and edit features without navigating through menus each time.
Object Browser and Viewer
Object Browser (Left Panel)
On the left-hand side is the Object Browser, which organizes all the elements of your project.
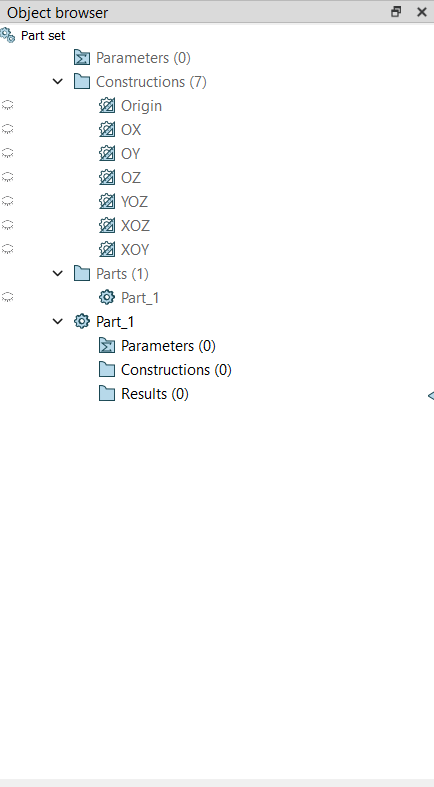
It is divided into three key sections:
- Parameters – Stores global parameters that can control dimensions or constraints in your geometry. These parameters make models easily adjustable for parametric studies.
- Constructions – Contains reference entities like planes, axes, and sketches used during modeling.
- Parts – This is where your actual 3D geometry (solids, surfaces, or assemblies) is stored. Each new part you create appears here.
You can expand and collapse these sections to view sub-elements, edit parameters, or rename entities for clarity.
Viewer (Right Panel)
The Viewer occupies the central and right portion of the window. This is where your geometry is displayed and interacted with.
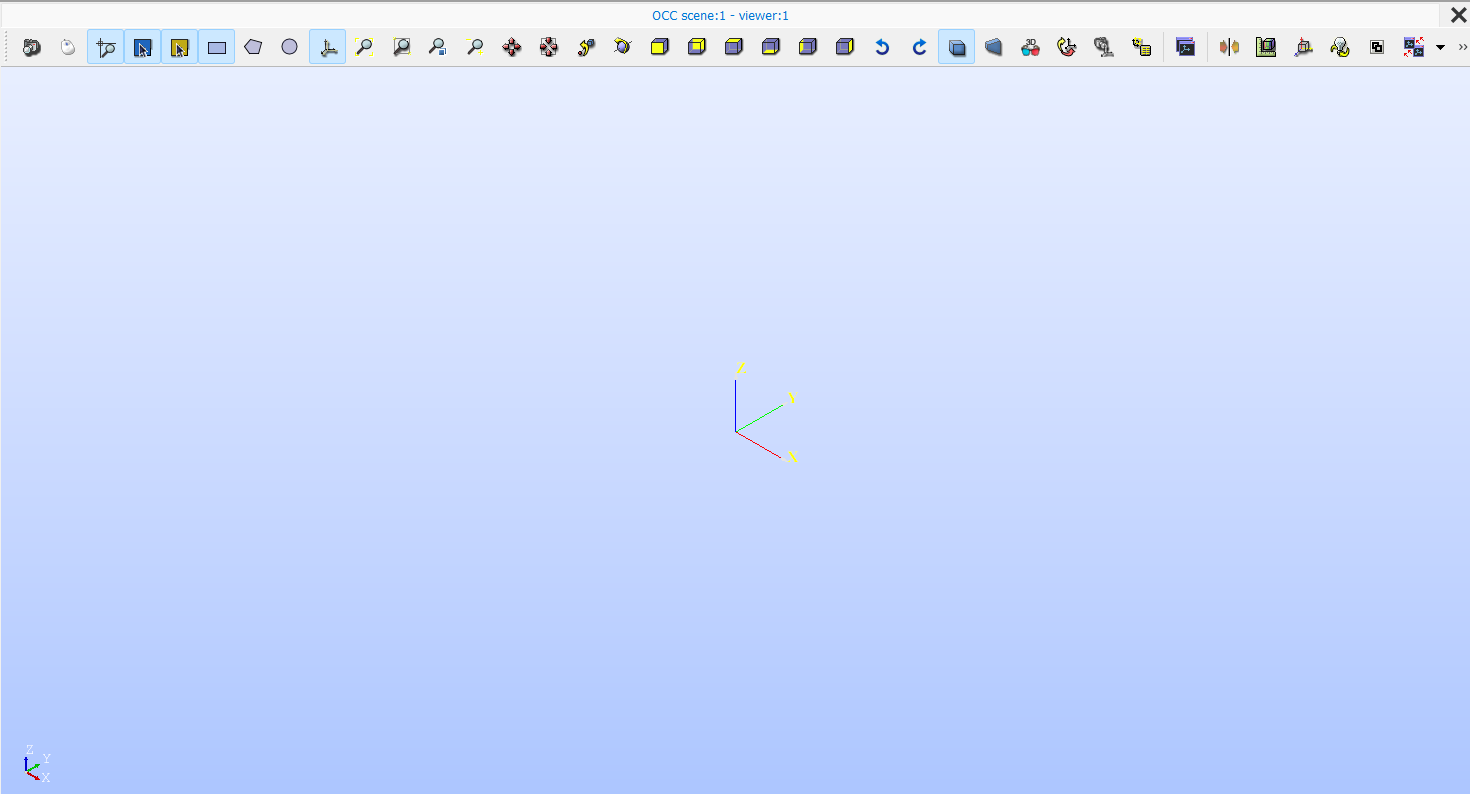
In this 3D workspace, you can:
- Rotate the model by holding the middle mouse button and moving the cursor.
- Pan by holding the right mouse button.
- Zoom in and out using the scroll wheel.
- Reset view using the cube-shaped orientation icons or by pressing F2/F3/F4 (depending on configuration).
These basic navigation tools allow you to inspect your model from any angle while building or editing it.
Getting Comfortable with the Layout
Once you understand the structure — menu bar on top, object browser on the left, and viewer on the right — working in Salome becomes straightforward. The SHAPER module gives you both precision and flexibility, allowing you to create parametric, reusable geometries that can be directly meshed in the MESH module.
Summary
The Salome interface may look dense at first, but it’s logically organized for efficient modeling:
- Use the top toolbar for creating and modifying geometries.
- Manage all components in the Object Browser.
- View and manipulate models in the 3D Viewer.
With just a few sessions, you’ll find the workflow intuitive — allowing you to move smoothly from concept sketches to detailed, simulation-ready meshes.
In the next section, we’ll begin by creating your first geometry in Salome using the SHAPER module.