Appearance
Testing the FEniCS Installation
Once FEniCS and all supporting tools are installed on your system — whether you’re using Ubuntu (WSL on Windows), macOS, or native Linux — the next step is to test your installation. This step ensures that all components are properly configured and that you can run FEniCS simulations in your environment without errors.
We’ll verify the installation by checking the versions of FEniCS, meshio, and Jupyter Notebook — both in the terminal and inside a Jupyter environment.
Step-1: Checking Versions in the Terminal
Open your system terminal (on macOS or Linux) or your Ubuntu (WSL) terminal on Windows, and run the following commands:
bash
python3 -c "import dolfin; print('FEniCS version:', dolfin.__version__)"
python3 -c "import meshio; print('meshio version:', meshio.__version__)"
jupyter notebook --version
If all commands execute successfully and display version numbers without any errors, your setup is ready to use.
Example output:
FEniCS version: 2019.2.0.13.dev0
meshio version: 3.2.7
7.4.7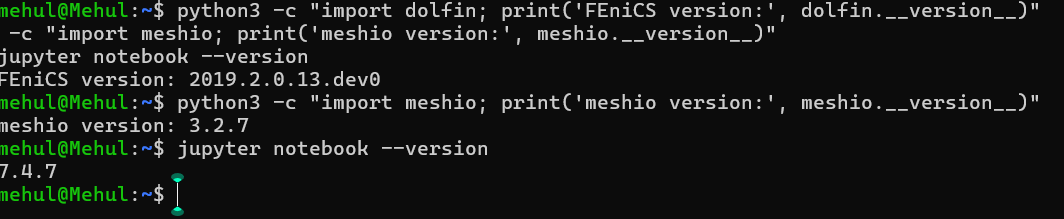 (Version numbers may differ slightly based on release dates.)
Note: On macOS and Linux, you might need to use
pip3andpython3explicitly, depending on your Python configuration.
Step-2: Launching Jupyter Notebook
Once you’ve confirmed that the packages are installed correctly, it’s time to test them in an interactive environment.
Navigate to your working directory (for example, your project or simulation folder):
bashcd ~/projects(On WSL, this might be
/mnt/f/codesdepending on your drive setup.)Start the Jupyter Notebook server:
bashjupyter notebook --ip=0.0.0.0 --port=8888 --no-browserThe terminal will display a message similar to this:
To access the notebook, open this file in a browser:
    http://127.0.0.1:8888/?token=...
Copy the full URL and paste it into your browser. You should now see the Jupyter interface open, showing your working directory.
Tip for Windows users: You can open your current directory in File Explorer using:
bashexplorer.exe .
Step-3: Verifying FEniCS Inside Jupyter
Once you’re inside Jupyter Notebook (in your browser):
Create a new Python 3 notebook.
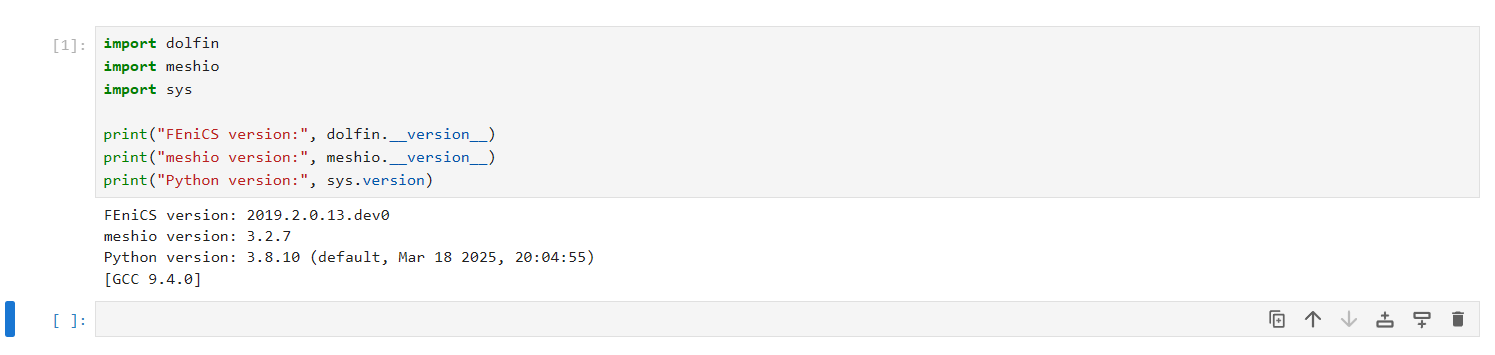
In the first cell, paste and run the following code:
pythonimport dolfin import meshio import sys print("FEniCS version:", dolfin.__version__) print("meshio version:", meshio.__version__) print("Python version:", sys.version)Press Shift + Enter to execute the cell.
You should see the version numbers printed below the cell — confirming that everything works properly inside Jupyter as well.
Step-4: Optional – Run a Simple Test Simulation
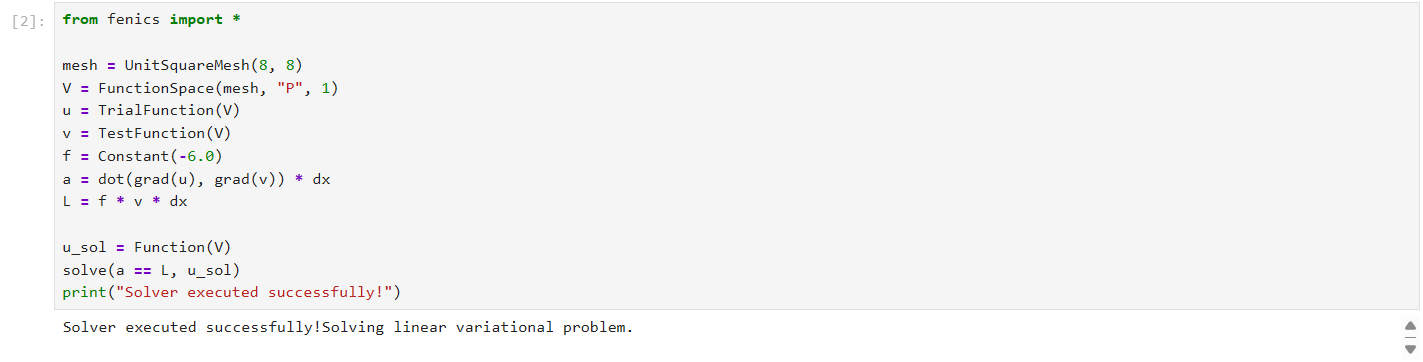
To confirm that FEniCS can actually run computations, try this short Poisson equation example:
python
from fenics import *

mesh = UnitSquareMesh(8, 8)
V = FunctionSpace(mesh, "P", 1)
u = TrialFunction(V)
v = TestFunction(V)
f = Constant(-6.0)
a = dot(grad(u), grad(v)) * dx
L = f * v * dx

u_sol = Function(V)
solve(a == L, u_sol)
print("Solver executed successfully!")
If you see "Solver executed successfully!" printed without errors, your FEniCS installation is functioning correctly.
Summary
By completing this test, you’ve verified that your FEniCS setup works on:
- Windows (via WSL) – using Ubuntu inside Windows
- macOS – through Homebrew or Conda installation
- Linux – using apt or Conda installation
You have successfully:
- Verified FEniCS (
dolfin),meshio, and Jupyter installations - Launched Jupyter Notebook from the terminal
- Confirmed the Python environment works interactively
- Executed a test simulation
You’re now ready to move on to the next stage — covering the essential tools and setup required for simulations, along with hands-on training on running and managing your first simulation workflows.