Appearance
Installing VS Code
Visual Studio Code (VS Code) is one of the most important tools in our workflow. It’s a lightweight, fast, and flexible code editor that works perfectly with Python, Docker, and Jupyter notebooks — the key tools we use in simulation and research work at Avkalan Labs.
Let’s go through how to install it on your system.
Download VS Code
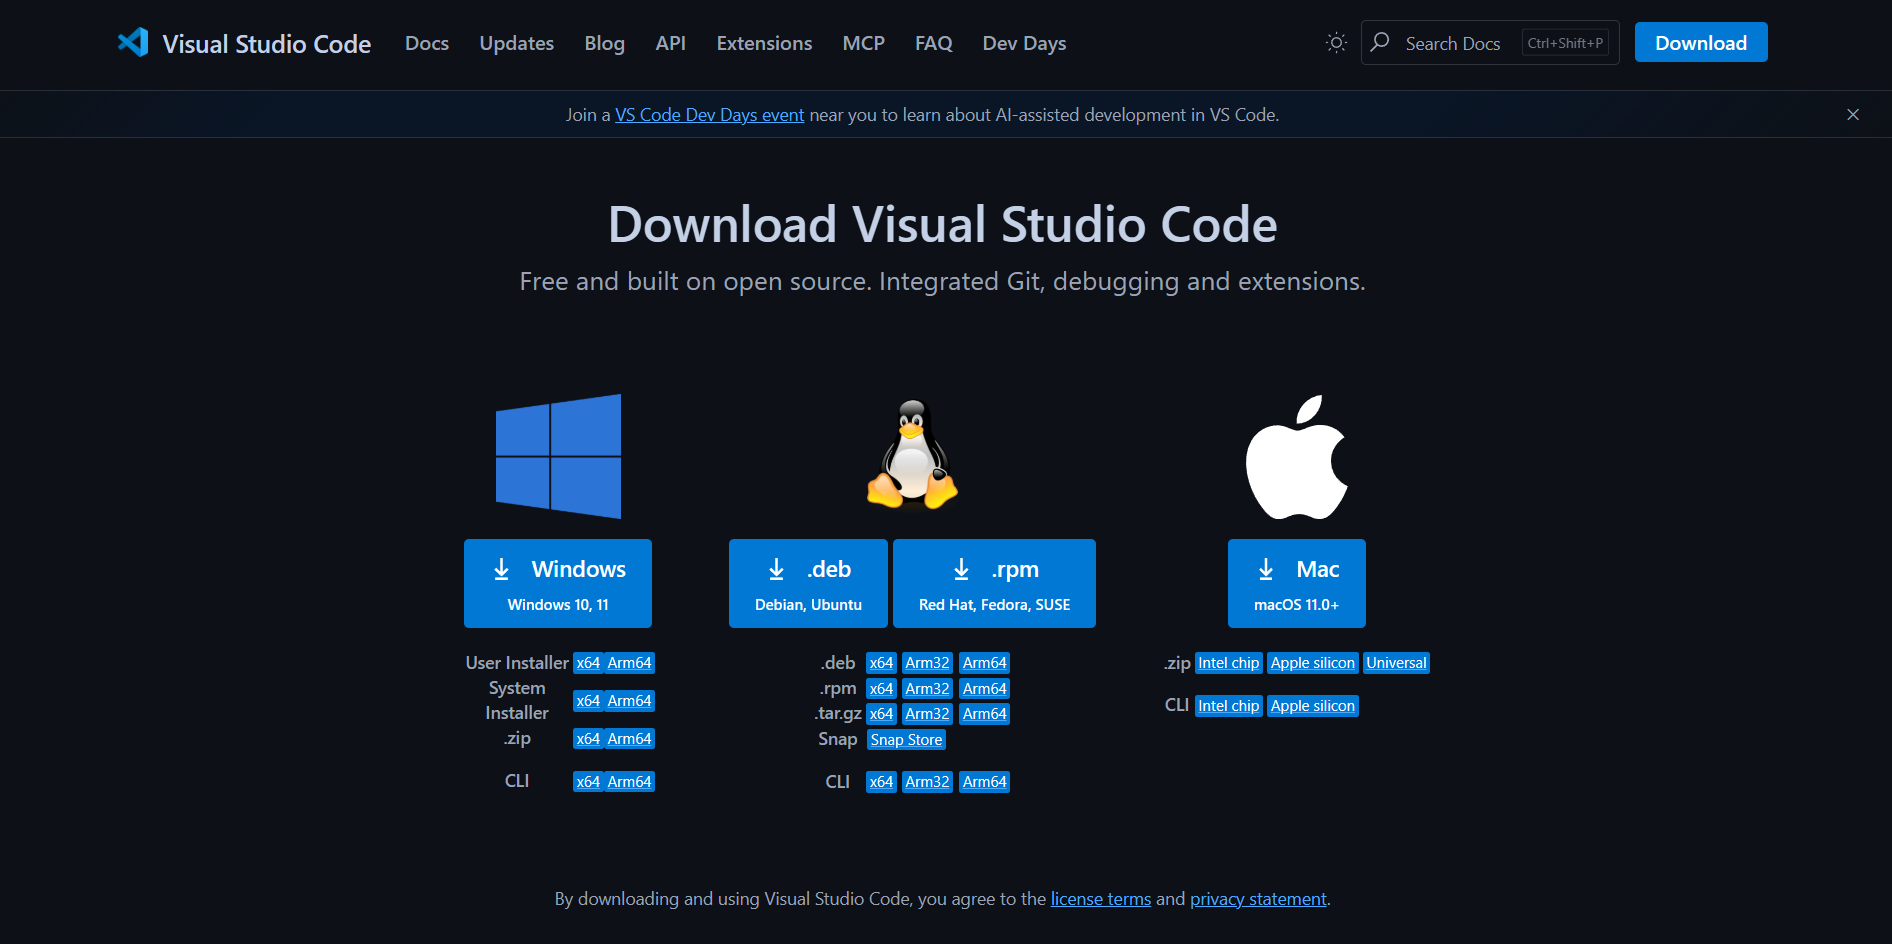
Go to the official VS Code download page: 👉 https://code.visualstudio.com/download
You’ll see options for Windows, macOS, and Linux. Choose the installer that matches your system.
Installing on Windows
Download the Windows User Installer (.exe) file from the website.
Run the installer.
When prompted during setup, check the boxes for:
- Add “Open with Code” action to File Explorer
- Add to PATH (so you can run
codefrom the terminal)
Click Next → Install.
Once installed, open VS Code from the Start menu or by typing:
bashcodein your terminal (if added to PATH).
Installing on macOS
Download the macOS (.dmg) file from the same link above.
Open the downloaded file and drag Visual Studio Code into your Applications folder.
Launch VS Code from Applications or using Spotlight Search (Cmd + Space → “Code”).
To enable VS Code from the terminal, open VS Code and press:
Cmd + Shift + PThen type
Shell Command: Install 'code' command in PATHand press Enter.Now you can open any folder directly from the terminal:
bashcode .
Verifying the Installation
Once installed, you can check everything is working by opening a folder and looking for the Welcome Page. If the editor opens without issues, your setup is complete.
What’s Next
With VS Code installed, we’ll move on to:
- Exploring the VS Code interface
- Setting up Python and Jupyter support
- Installing essential extensions for research and simulation work