Appearance
GitHub Workflow
Once you’re comfortable using Git on your system, the next step is to understand how we use GitHub at Avkalan Labs. GitHub acts as the central platform where all our simulation projects, documentation, and shared repositories are hosted.
This page will guide you through setting up your GitHub account, installing GitHub Desktop, and understanding the interface and repository setup process.
Step-1: Creating Your GitHub Account
- Open the GitHub website: https://github.com
- Click on Sign up and create a new account using your Avkalan Labs work email.
- Choose a simple username (preferably your name in lowercase).
- Verify your email address and complete the setup.
Tip: Use your professional name and profile image. This helps identify your work in shared repositories and collaborative projects.
Once your account is ready, you can access the GitHub web dashboard where all your repositories will be visible.
Step-2: Installing GitHub Desktop
While Git can be used entirely from the terminal, GitHub Desktop provides a clean, visual interface for common version control tasks — ideal when working on documentation, simulation scripts, or large multi-file projects.
For Windows and macOS
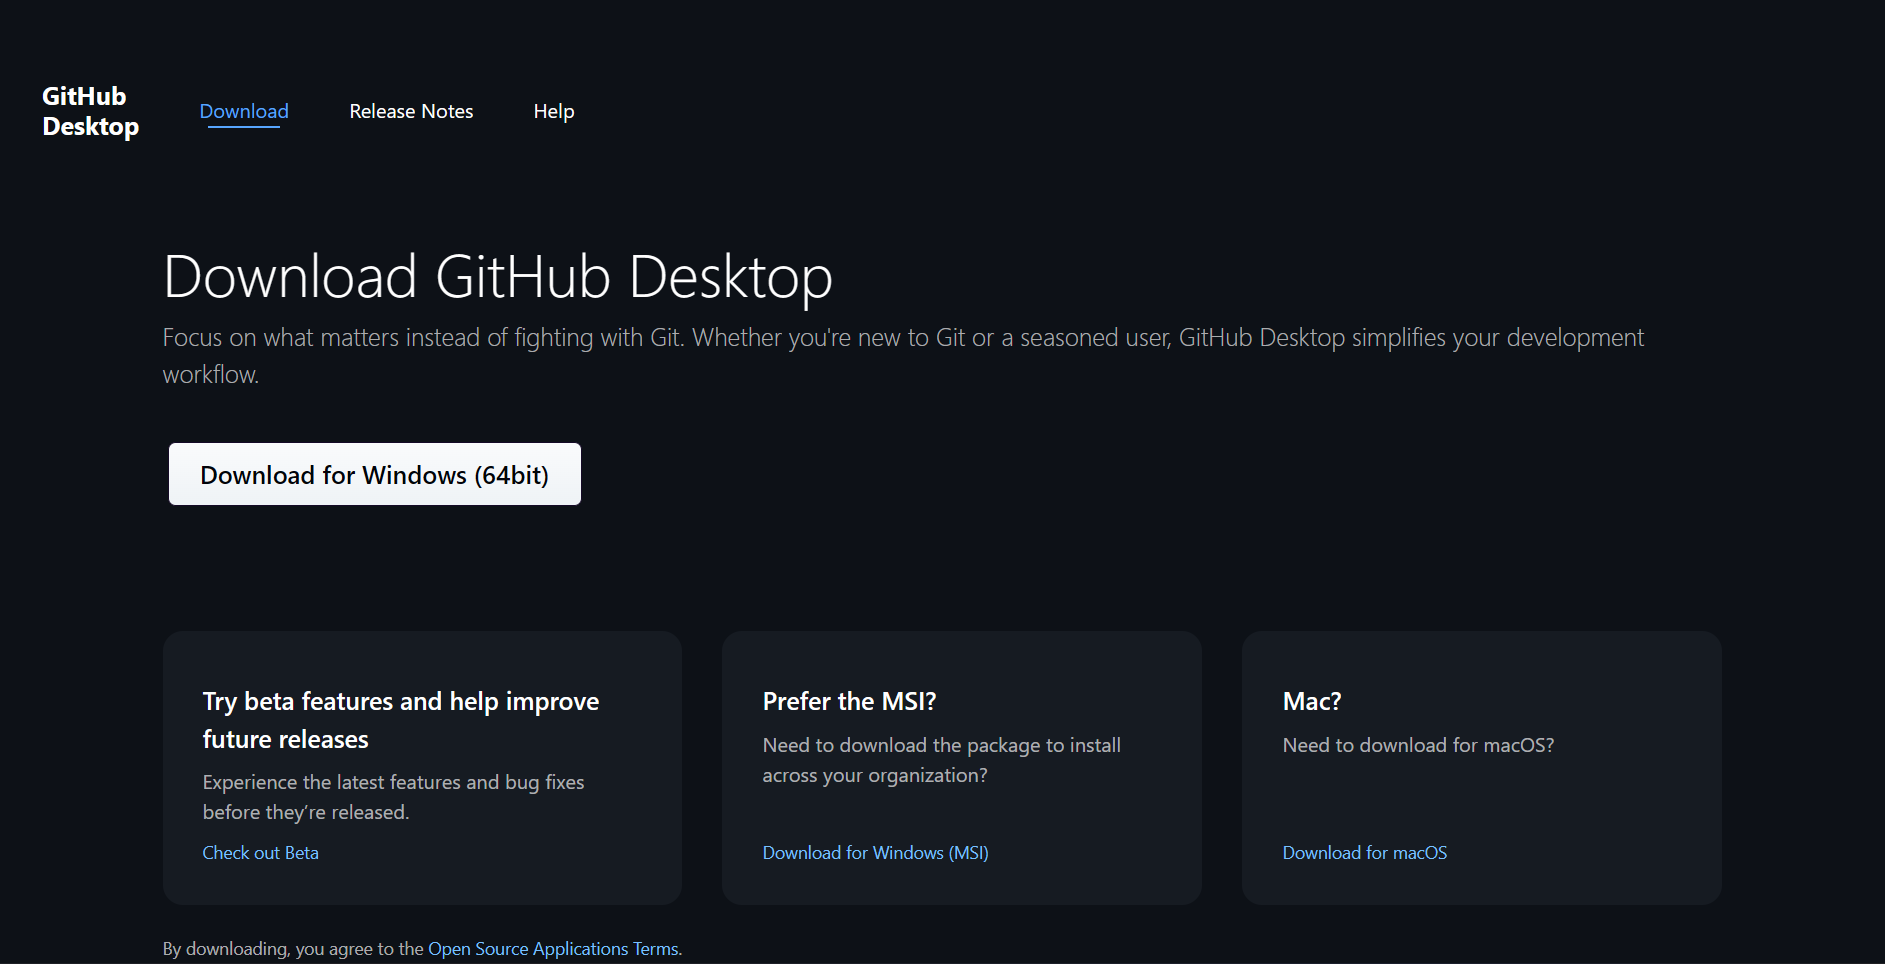
- Download GitHub Desktop from: https://desktop.github.com/download/
- Run the installer and complete setup with the default settings.
- When prompted, sign in with your GitHub account (the one you just created).
Step-3: Overview of the GitHub Desktop Interface
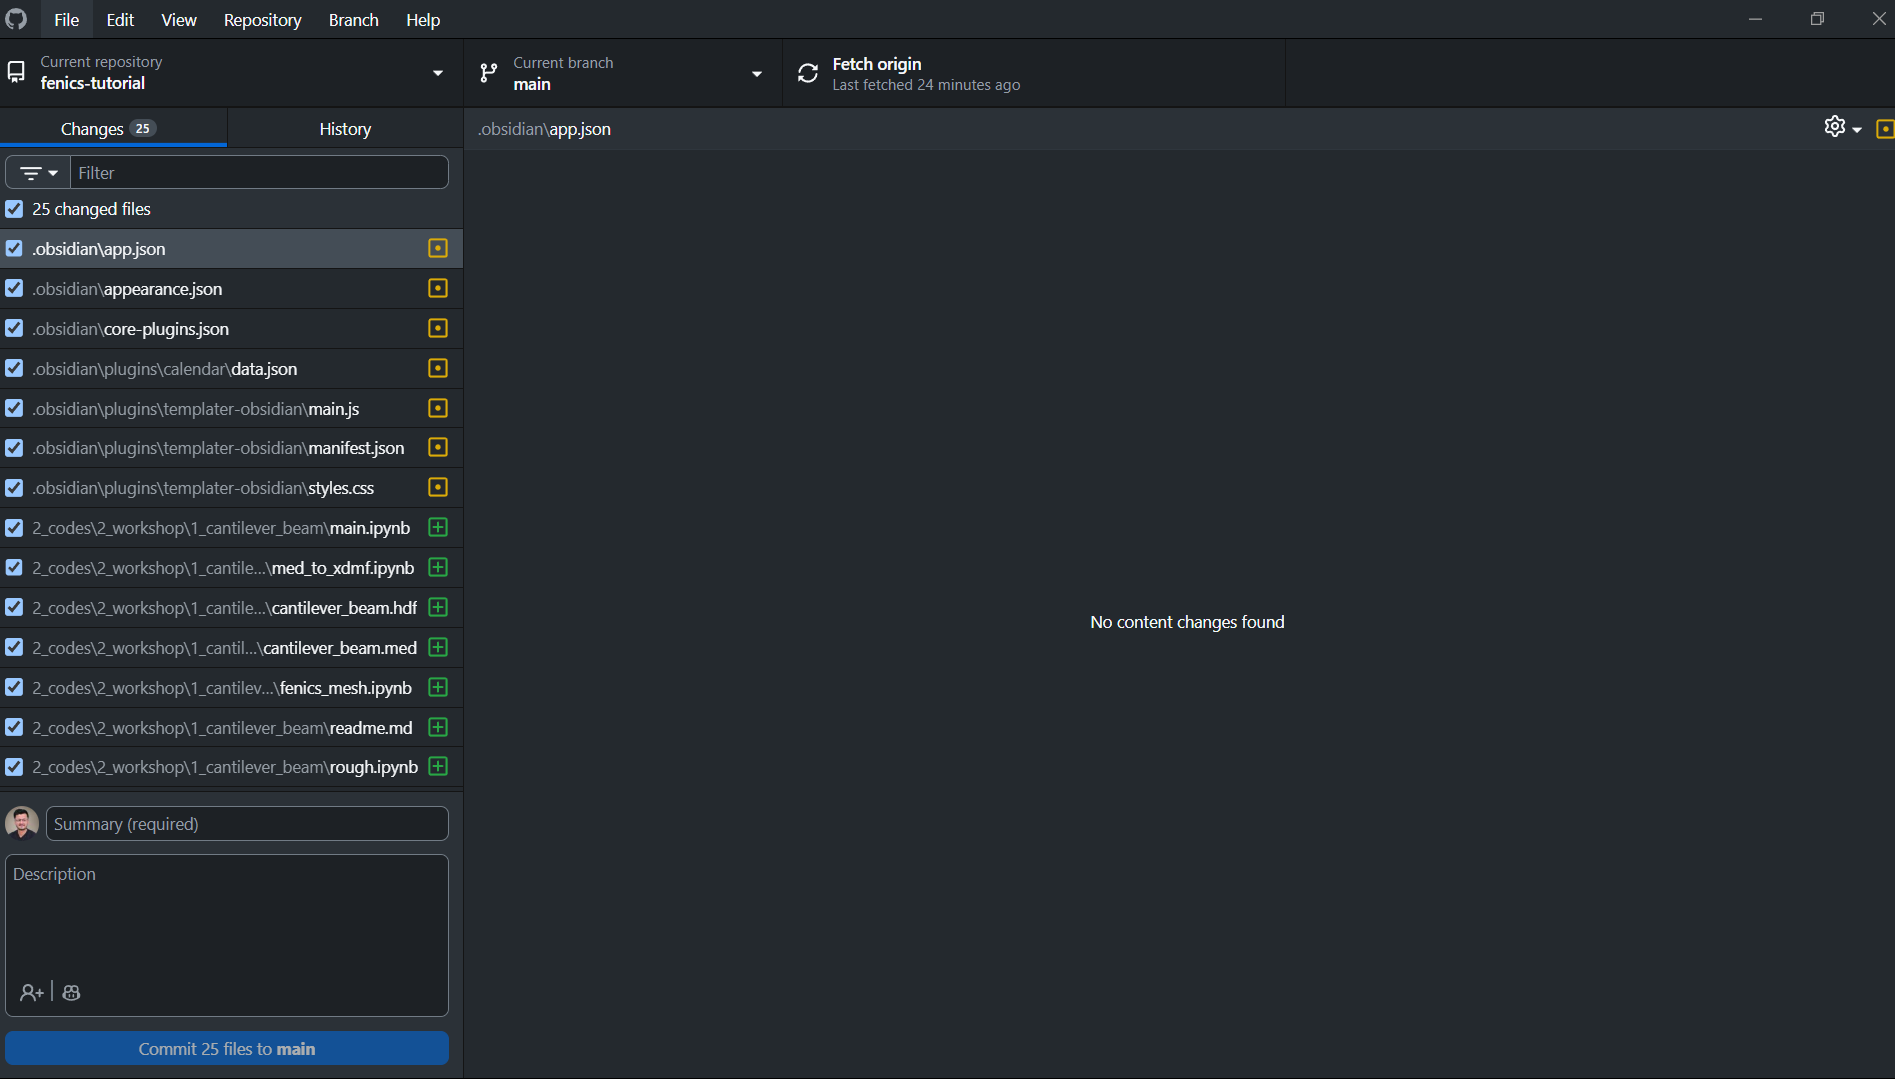
When you open GitHub Desktop, you’ll see a simple, intuitive layout with the following key panels:
| Section | Purpose |
|---|---|
| Menu Bar | Access application settings, repository management, and Git actions. |
| Current Repository Panel | Shows which repository you’re currently working on. |
| Changes Tab | Lists all modified files that haven’t been committed yet. |
| History Tab | Displays the complete commit history for the repository. |
| Branch Dropdown Tab | Lets you switch between or create branches. |
| Status Bar Tab | Displays sync status (e.g., fetching updates from GitHub). |
Note: The left sidebar lists all repositories you’ve cloned or created locally. You can double-click any one to open it instantly.
Step-4: Cloning a Repository
To start working on a project, you’ll first clone its repository — which means creating a local copy of it on your system.
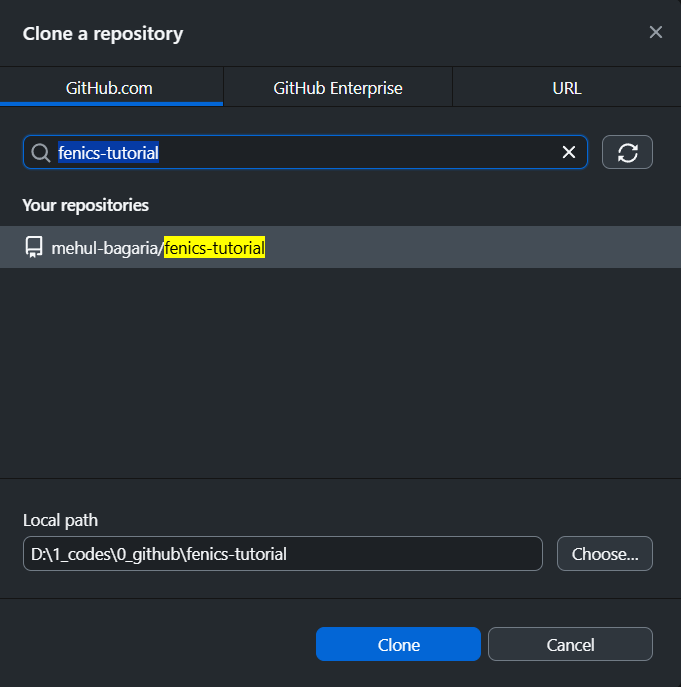
- In GitHub Desktop, go to File → Clone Repository...

- Switch to the GitHub.com tab.
- In the search bar, type the name of the repository you have been added to (for example,
fenics-tutorial), then select it from the list. - Choose a local path (e.g., inside your
/mnt/d/codes/folder orDocuments/Projects). - Click Clone.
You now have a synchronized local version of the repository that you can edit and manage.
Step-5: Keeping Your Local Repository Updated
Before working on a repository, always ensure you have the latest version of the files.
In GitHub Desktop, click Fetch Origin. This will check for any new commits or updates from the online repository and bring your local copy up to date.
Important: Always fetch the latest changes before you begin editing or adding new files. This prevents conflicts when multiple people are working on the same repository.
Summary
You’ve now completed the foundational setup for working with GitHub:
- Created your GitHub account using your work email
- Installed and signed into GitHub Desktop
- Understood the main interface components
- Cloned a repository to your local system
- Learned to fetch the latest updates before editing
In the next section, we’ll cover how to create branches, make commits, and push your work back to GitHub for collaboration.