Appearance
VS Code Interface – Panels & Buttons
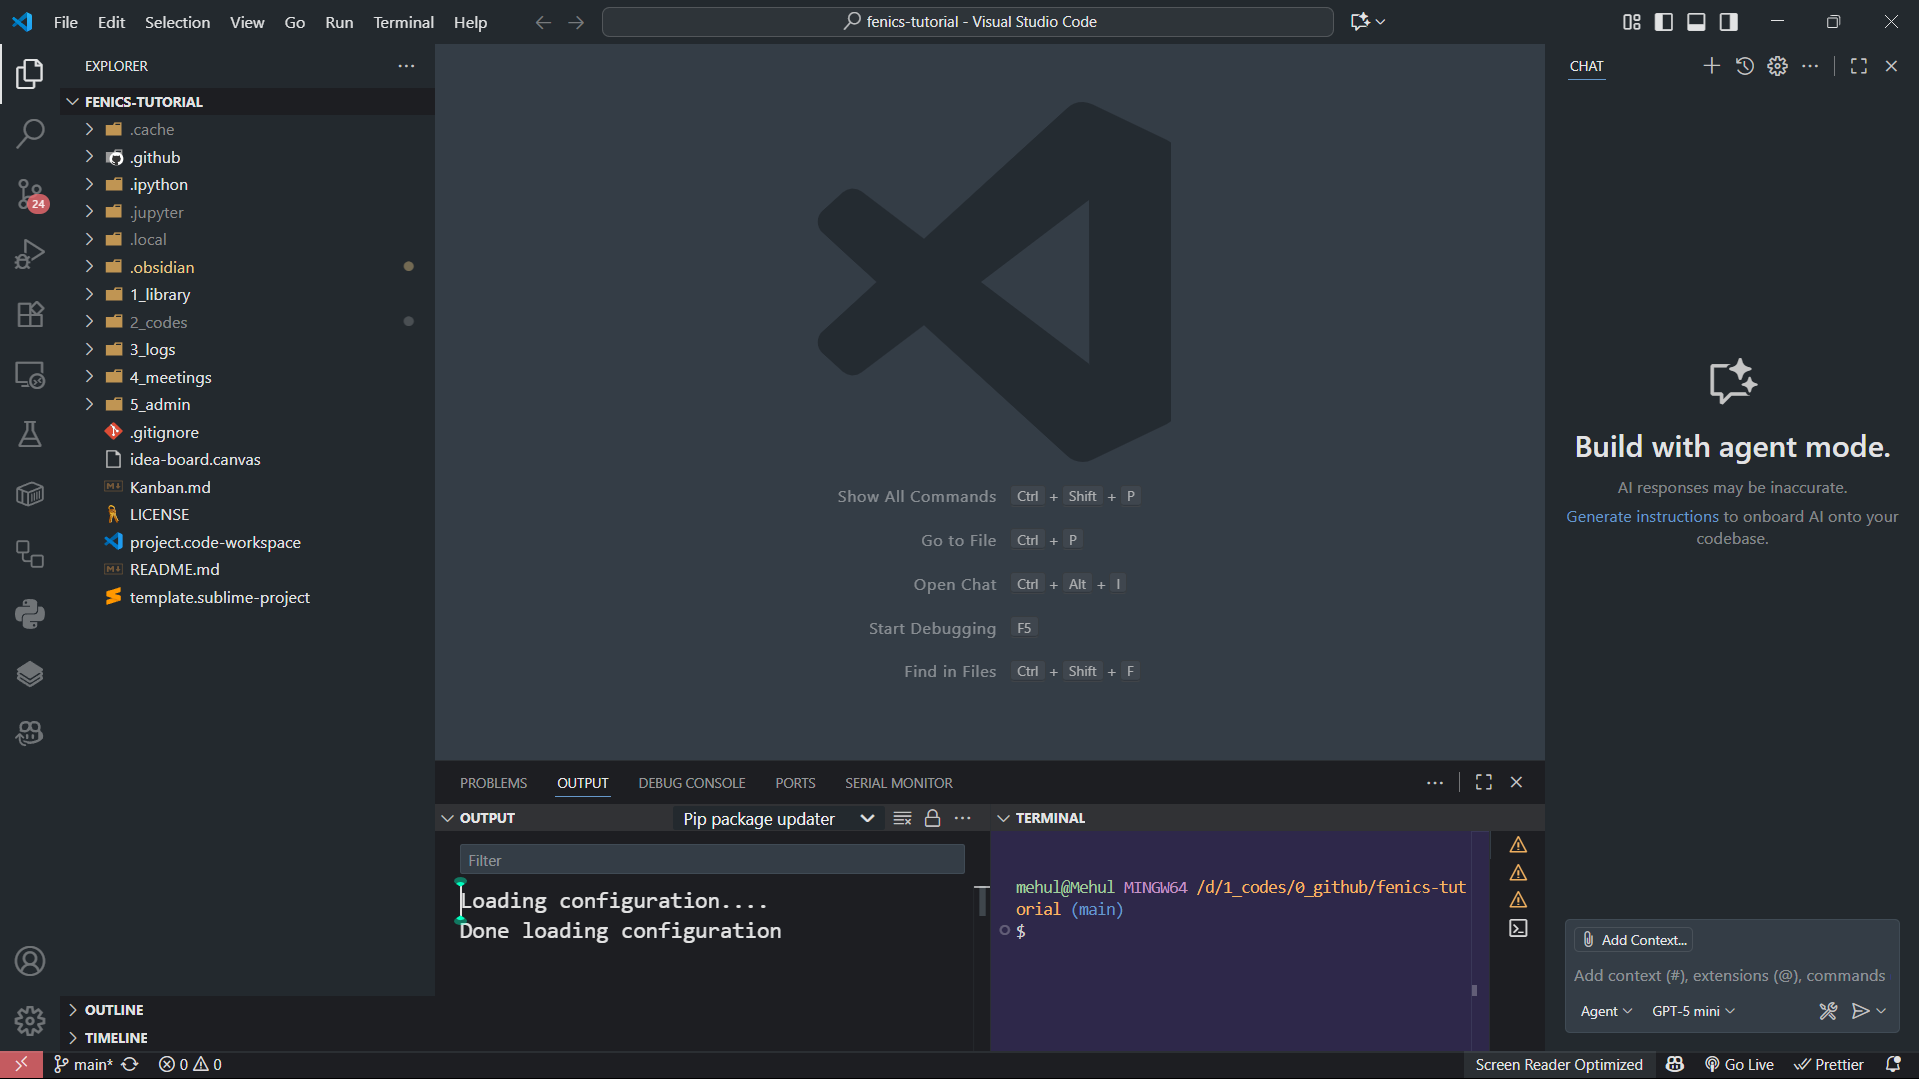
Once you’ve installed VS Code, it’s time to get familiar with the interface. VS Code is designed to stay simple, yet give you access to everything you need — from editing code to running terminals and managing Docker containers — all within one workspace.
Let’s go through each part step by step.
Complete Interface Overview
When you open VS Code for the first time, the window is divided into several key areas. Each section has a specific purpose, and understanding them early makes your workflow smoother.
Here’s how the layout is structured:
Left Sidebar (Activity Bar) – The vertical bar with icons (📁, 🔍, 🐞, 📦, 🐳, etc.) for navigation between Explorer, Search, Source Control, Extensions, and Containers.
Explorer / Folder Panel – Displays your project files and folders. You’ll open and manage your scripts, meshes, and notebooks here.
Main Code Editor – The central area where you write and edit code, with support for tabs and split views.
Terminal Panel (Bottom) – The integrated terminal where you can run Python, FEniCS, or Docker commands without leaving VS Code.
Right Sidebar (Optional) – Used for extensions like ChatGPT, Copilot, or Docker logs.
Top Menu Bar – Classic dropdowns for File, View, Run, Terminal, and Help.
Bottom Status Bar – The slim blue bar showing your Python environment, Git branch, and Docker status.
Detailed Breakdown of the Interface
Now that you’ve seen the overall layout, let’s look at each part of the VS Code interface in detail — from the sidebar and menu bar to the terminal and command palette.
1. The Left Sidebar (Activity Bar)
On the far left, you’ll see a vertical strip of icons — this is called the Activity Bar. It’s your main navigation panel in VS Code and gives you access to all the core tools.
Here’s what each icon does:
| Icon | Section | Description |
|---|---|---|
| 📁 | Explorer | View and open files or folders in your project. |
| 🔍 | Search | Search text or code across all files in your workspace. |
| 🔄 | Source Control | Manage version control using Git or GitHub. |
| 🐞 | Run and Debug | Run Python scripts, track variables, and debug step-by-step. |
| 📦 | Extensions | Install plugins like Python, Docker, or Jupyter to extend functionality. |
| 🐳 | Containers | View, start, stop, and connect to Docker containers directly from VS Code. |
| 💬 | Chat / Copilot (optional) | Use AI-assisted chat or code suggestions to boost productivity. |
You can show or hide this bar by going to: View → Appearance → Show Activity Bar
The options you see in the Activity Bar may vary depending on your installed extensions and workspace needs.
2. The Top Menu Bar
The top menu bar provides access to almost every command and configuration.

Main menus include:
- File – Open, save, create, or manage projects
- Edit – Undo, redo, or manage selections
- Selection – Block select or multiple cursors
- View – Show or hide panels like Terminal, Explorer, or Debug
- Run – Execute scripts or start debugging
- Terminal – Create, rename, or split terminals
- Help – Access documentation and keyboard shortcuts
- Toggle panels on/off:
- Side Bar (Activity Bar)
- Bottom Bar (Status Bar)
- Panel (Terminal/Problems/Output)
These options let you customize your workspace by showing or hiding panels as needed.
3. The Explorer Panel (Left Folder Bar)
This is where your project files live.

You can:
- Open folders and browse project files
- Create new files/folders
- Rename, delete, or drag items around
To open a project folder:
- Go to File → Open Folder
- Select your project folder (e.g.,
Codes/) - Click Open
This becomes your active workspace inside VS Code.
4. The Right Section – Editor & Terminal
The center area is your editor — where you write and view code.

At the bottom, you’ll find the Integrated Terminal, a built-in command line. You can open or hide it using:
bash
Ctrl + `(or Cmd + ` on macOS)
Here you can run Python scripts, Docker commands, or Git operations directly inside VS Code — no need to switch windows.
You can open multiple terminal tabs or split them to run several processes simultaneously.
If you’ve enabled extensions like Copilot, ChatGPT, or Docker, a right sidebar may also appear, giving you quick access to container logs, AI chat, or debugging info.
5. The Bottom Bar (Status Bar)
The blue bar at the bottom gives real-time information such as:
- Python interpreter or environment in use
- Git branch and changes
- Current file encoding and indentation
- Docker status (if the Docker extension is active)

You can toggle it from: View → Appearance → Status Bar
Clicking most items opens quick actions — for example, clicking on the Python version switches your interpreter.
6. The Command Palette
The Command Palette is where you can do anything in VS Code using just the keyboard.
Open it with:
bash
Ctrl + Shift + P   (Windows/Linux)
Cmd + Shift + P    (Mac)
Useful commands:
> Show All Commands– View every available command> Open File– Open a specific file> Open Recent– Reopen recent folders or projects> Open Folder– Switch workspace folders> Docker: View Containers– Open Docker container management directly
It’s the fastest way to navigate without touching the mouse.
7. Customizing the Layout
You can drag panels around, hide toolbars, or split editors vertically — make it work the way you like.
Summary
At this point, you should be comfortable with:
- The Activity Bar and its main icons (Explorer, Source Control, Docker, Extensions, etc.)
- The Top and Bottom Bars
- The Command Palette for shortcuts
- The Terminal and Container integration inside VS Code
Next, we’ll move on to setting up VS Code as per our workflow requirements — configuring Python, extensions, and environment settings for simulation and research work.