I participated in the SoME one challenge 2020. It was a great experience to make a full video with python in Blender finally. One of the winning entries of the challenge was this blog post on caustics by Matt Ferraro. It was the first time that I heard of the term caustics. The blog post is well written, and I love how he has described the problem and the solution.
Immediately after reading the blog post, I wanted to recreate the analysis portion in FEniCS and use the CNC machine in our lab to create the object. Moreover, after going through the issues, I learned that we could model caustics in Blender. And thus, we can test out different results of the analysis run without even creating the thing in the real world.
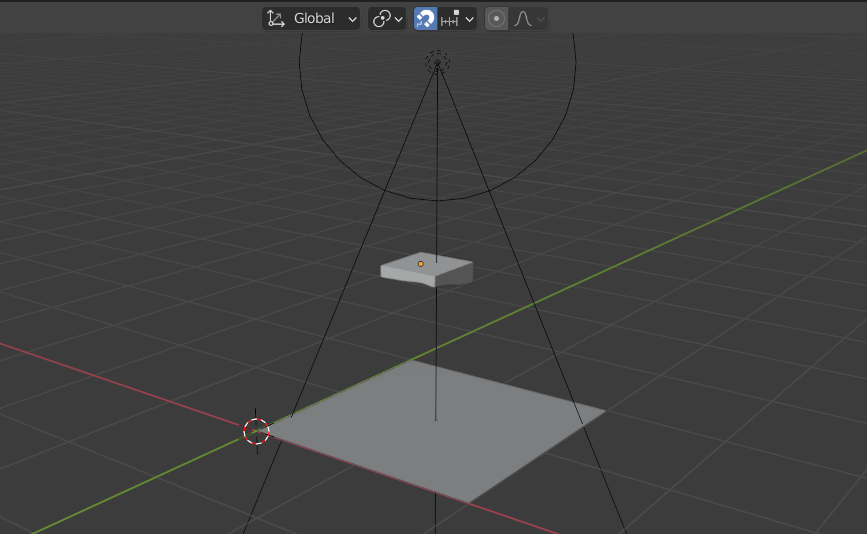
The first step was to just run the code and test the generated model in Blender. Here is the 3D model setup. It’s crude right now but I did get the results.
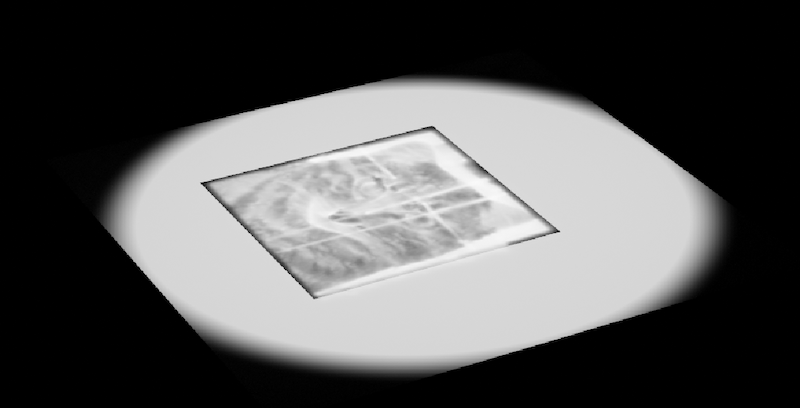
The image generated from this experiment is a good first try. The next step is to get a clean image in Blender with the parameters presented in the blog post.
[Update 25/2/22] The initial machining failed to produce any image with caustics. After reading the original blog post, I figured out one key difference, the toolpath for roughing and finishing operations must be parallel. Also, we had scaled the model to fit the dimensions. The next try will be with actual dimensions.
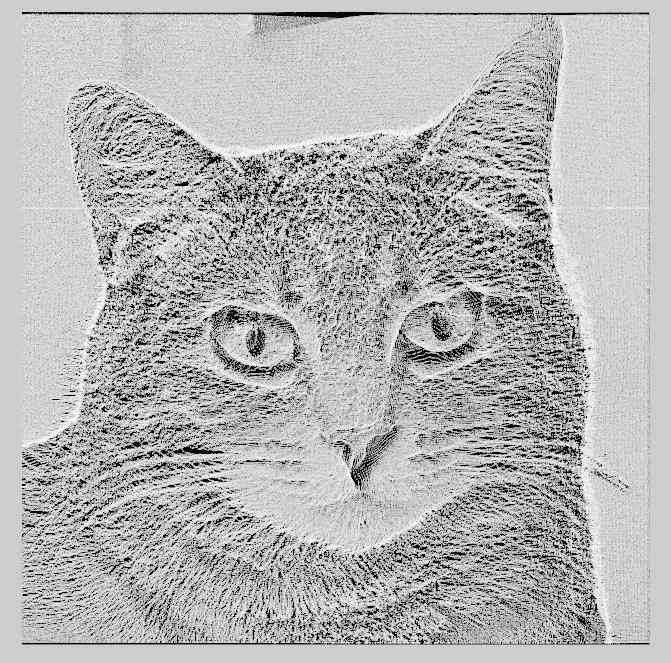
[Update 2/3/22] With some tweaks, I got the following image from the blender simulation. This simulation is with the 100mm \(\times\) 100mm size and 5mm thickness of the acrylic sheet. The total cut depth is 3mm. Will try to machine it tomorrow and update the results.
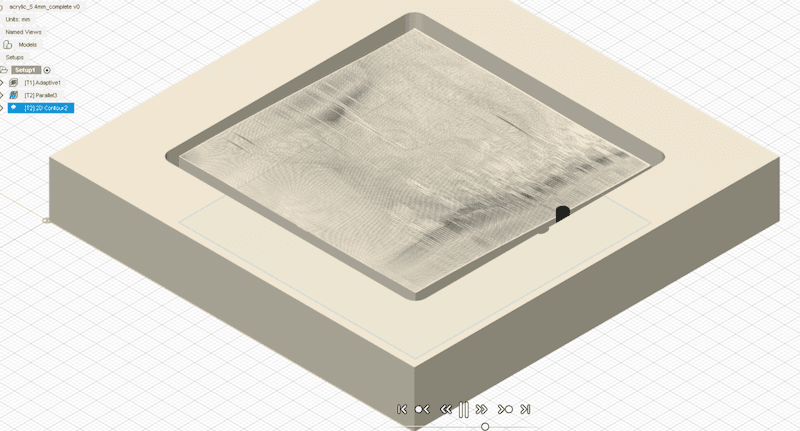
[Update 8/3/22] The first CNC run was almost successful. Got to learn a few things.
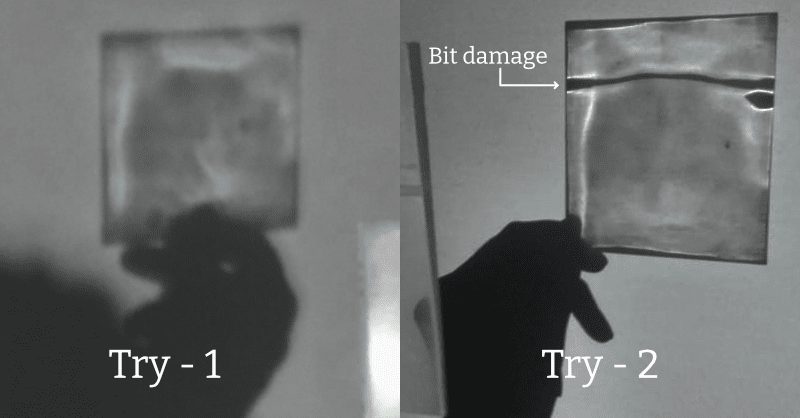
precision of carvey = 75 micro meter. The height variation is also in this range for our sample
| Grit | Microns |
|---|---|
| 220 | 63 |
| 500 | 16 |
| 1000 | 7 |
Bit size - 3mm
Ball nose spiral end mills are used for smooth contouring and fine detail passes with a CNC router and often for complex shapes like 3D carvings. The rounded ends produce smooth curves that would be impossible to achieve with flat end bits. Small diameter ball nose end mills are used for projects with intricate detail while larger bits are used for smoother projects with more gradual slopes. These bits are also excellent for routing fluted columns and channels in cutting boards and countertops edges.The radius defines the size of the tip of the bit which is half the size of the cutting diameter. Choose the radius that matches the detail resolution of your project. These ball nose end mill bits come in a wide array of shank and radius combinations, with many different ball nose cutter sizes.
The G-code data is in mm and it is taking up-to 3 decimals. Micrometer movement is considered.